Easter Crafts

OM Magazine, Issue 142, March 2021
2nd March 2021
International Woman’s Day
4th March 2021It’s time to get a little bit messy and have some fun crafting! Easter Sunday is less than a month away now, so what better time to get the house ready for the holiday. We have found the very best but also simple crafts for everyone to enjoy.
Decorative eggs
You will need:
Eggs
Food Colouring
Vinegar
Elastic bands/ stickers (optional)
Chicken eggs will do just fine for this craft but if you wanted to get creative, you can have a lookout for quail, duck, emu or even ostrich eggs as well!
• To get the contents of the egg out, pierce the top and the bottom of the egg with a sharp knife and then use something small and sharp like a staple to move the egg so that it comes out.
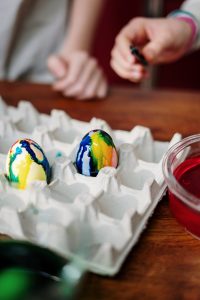
• Mix 1 teaspoon of vinegar with 20 drops of food colouring in a cup of hot water. (Enough to your egg is completely submerged.) Take the egg out using tongs once you are happy with the colour it has become.
• To create unique effects, wrap rubber bands around the egg or place stickers onto it before dipping it into the dye.
• Try using natural dyes from things already in your kitchen. Foods like red cabbage, red onion skin or coffee make good natural dyes.
• Once you are finished dying the eggs, you can either leave them as they are and decorate your house with them or you can draw faces or animals on them to give them some character. Or you can also add glitter, paint, paper ears, anything that takes your fancy!
• These eggs are re-usable so you can bring them out yearly and reduce waste.

Egg Box flower Wreath
You will need:
Egg boxes
Scissors
Different coloured paints
Craft ring
Hot glue gun
A fun alternative to an easter wreath is to make it out of your leftover egg boxes. This means that nothing is going to waste after making your decorative eggs!
• Cut the bottom of your egg box so that you get lots of little egg cups. Cut little notches in and around the cup to resemble flower petals. Also, cut some leaf shapes using the left-over box.
• Paint the egg box flowers and leaves with lots of different coloured paint. You may need to do a few coats for the paint to stand out.
• Leave the paint to dry.
• Arrange them onto a craft ring so they resemble a wreath and stick them in place using a hot glue gun.

Bunny bunting
You will need:
Card (multiple colours)
Scissors
Hole punch
String
Pom-poms
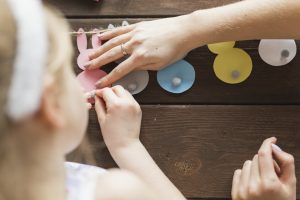
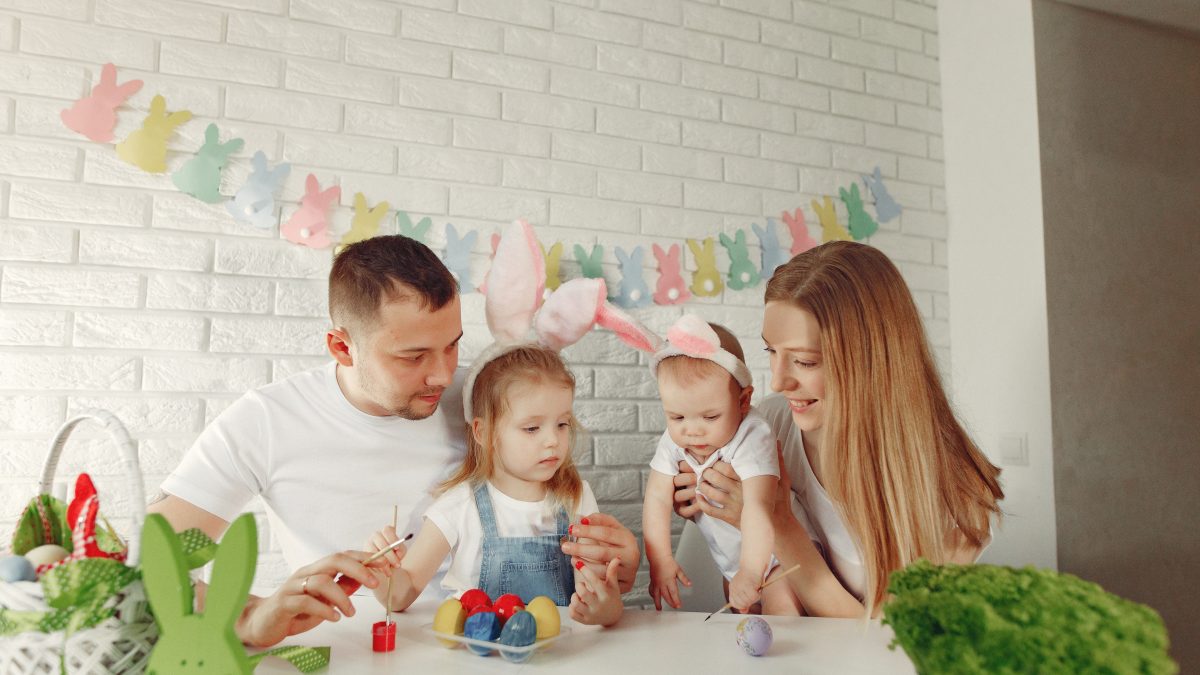
Decorate the house with these multicoloured rabbit-shaped bunting.
• Draw a simple rabbit shape onto card and cut it out. (This will be your stencil)
• Use your stencil to cut out lots more rabbits on different coloured card or paper. (The more you make, the longer the bunting will be.)
• Use the hole punch to punch holes in each of the ears.
• Arrange them in the order you want and thread the string through each rabbits’ ears.
• Glue one pom-pom onto one side of the rabbit to resemble their fluffy tails.


